Procuring Vehicle Electrical Systems: A Buyer's Guide
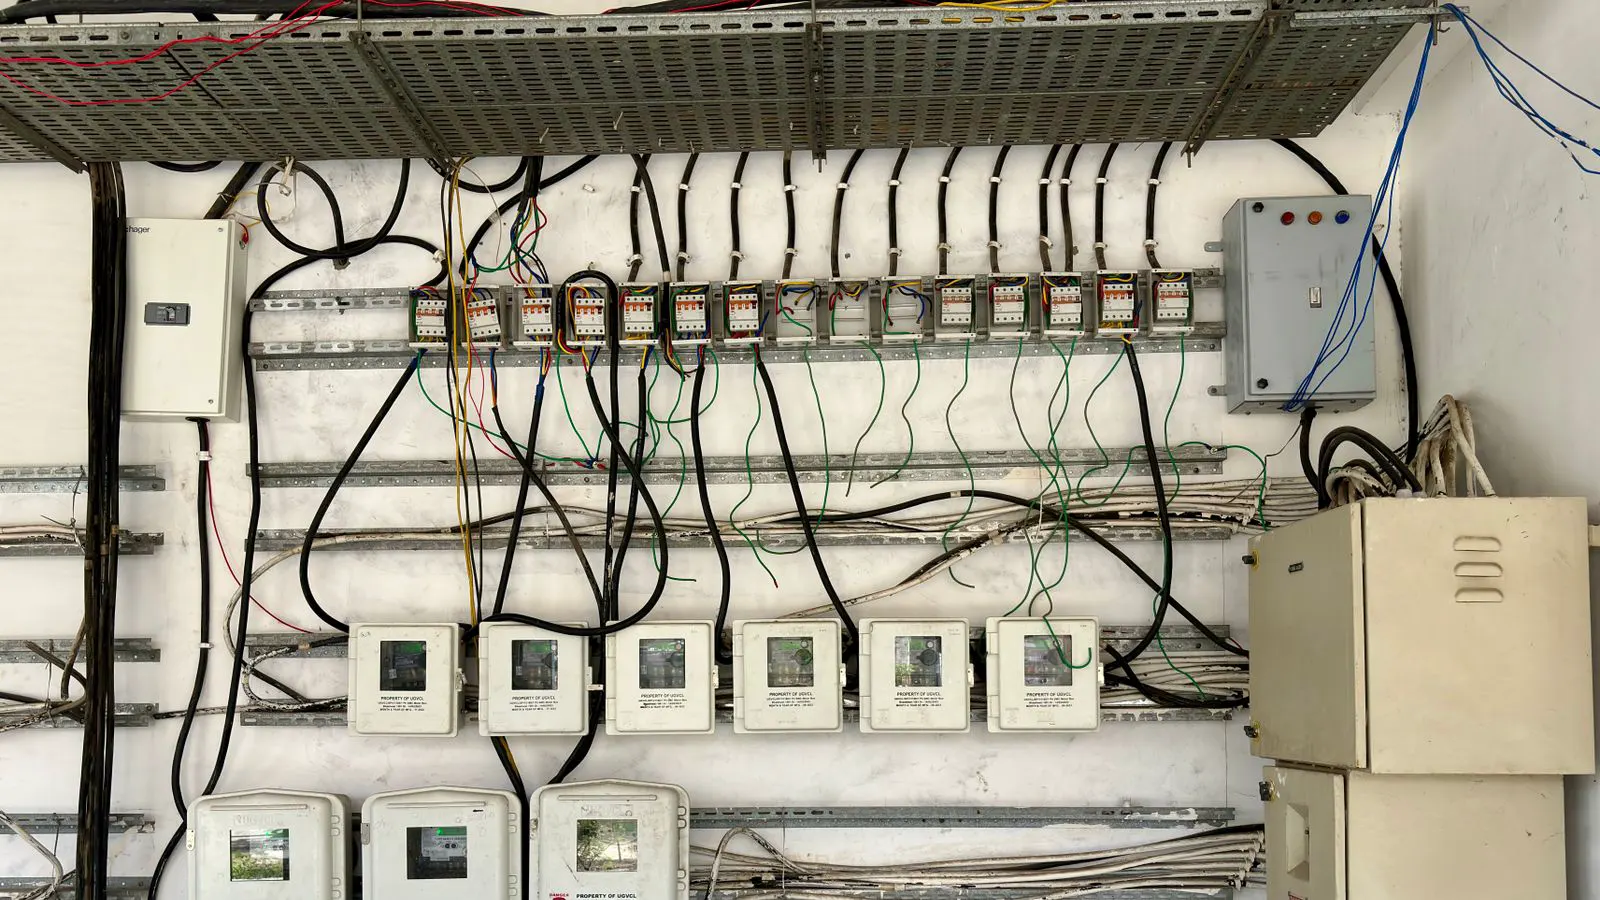
Procuring vehicle electrical systems requires verifying specifications, testing protocols, and regulatory compliance. This guide outlines how buyers evaluate suppliers, manage lead times, and select components to minimize failure risk and ensure system integration.
- Define electrical load and environmental conditions before requesting quotes.
- Verify regulatory compliance and traceability for each component lot.
- Use tiered supplier qualification to manage risk across critical systems.
- Standardize testing and acceptance criteria to reduce integration rework.
- Plan for spare parts and serviceability to protect end-of-life support.
Procuring vehicle electrical systems demands more than price comparison. Buyers must verify that components meet load requirements, survive thermal cycles, and integrate cleanly with existing control logic. A single faulty connector can cascade into a full system failure. The procurement process starts with a clear technical brief and ends with a documented acceptance test.
What specifications must be defined before sourcing
The technical brief is the foundation of the purchase. It should list current draw, voltage range, pulse width modulation requirements, and connector pinout. For lighting assemblies, specify beam pattern, color temperature, and mounting orientation. For sensors, define signal type, response time, and operating temperature.
Ambient conditions matter as much as electrical data. If a control module sits under the hood, it must handle heat and vibration. If a sensor is exposed to road spray, ingress protection becomes a non-negotiable requirement. Buyers who omit these details receive quotes that look competitive on paper but fail in the field.
The brief should also state the expected service life. A component designed for five years of use has different material tolerances than one built for a decade. Clarify whether the part must be serviceable in the field or if replacement is assumed. This distinction changes the supplier selection criteria and the warranty terms.
How to evaluate supplier capability and compliance
Supplier evaluation begins with document review. Request the quality management certificate, the test report for the specific lot, and the compliance statement for regional regulations. For automotive applications, traceability is a baseline. You should be able to follow a serial number back to the raw material lot and the test station.
Ask about the supplier’s test capability. A credible manufacturer will describe the environmental chamber, the electrical load bank, and the vibration table used for qualification. If the supplier cannot explain how a connector is tested for mating cycles, do not qualify that supplier for critical circuits.
Compliance varies by market. North American, European, and Asian regulations differ in labeling, emissions, and safety standards. Confirm that the component meets the requirements for every region where the vehicle will be sold. A part that passes in one market may fail inspection in another.
What testing protocols should be included in the contract
The acceptance test defines what happens when the parts arrive. It is not a suggestion. It is a contractual obligation. The test plan should cover functional checks, electrical performance, and physical integrity.
Functional checks verify that the component does what it claims to do. A lighting assembly must illuminate correctly. A sensor must output a valid signal across its range. A control module must respond to input commands within the specified delay.
Electrical performance tests measure actual parameters. Check current draw at nominal voltage. Verify insulation resistance. Confirm that the thermal shutdown threshold triggers as designed. Physical integrity tests include drop tests, connector pull tests, and vibration runs.
Document the pass criteria clearly. A vague statement like “must work” is not a test. A specific statement like “must maintain voltage under 5 percent drop after 1000 cycles” is a test. Ambiguity in the test plan is the most common source of disputes after delivery.
How to manage lead times and supply risk
Lead time is not just a number. It is a risk profile. A supplier with a six-week lead time has a different risk profile than one with a two-week lead time. Factor in production scheduling, material procurement, and shipping.
For critical systems, maintain a dual-source strategy. Qualify at least two suppliers for each high-risk component. This does not mean you must buy from both. It means you have a backup path if one supplier faces a disruption.
Inventory planning must account for seasonal demand. Automotive parts often experience spikes before major model years or regulatory changes. Build a buffer for high-velocity electrical components. A two-week buffer may be enough for standard parts. A six-week buffer may be needed for specialized modules.
Communicate your forecast to suppliers. A reliable supplier uses your forecast to plan production. A vague forecast forces them to guess, which increases lead times and raises prices.
What documentation should accompany each shipment
Every shipment must include the correct documentation. The packing list, the bill of lading, and the certificate of conformity are standard. But for electrical parts, you need more.
Include the test report for the specific lot. If the supplier tests by sample, that is not enough. You need the data for the actual units you are receiving. The test report should list the test parameters, the measured values, and the pass/fail result.
Include the compliance statement. This document states which regulations the part meets and which market it is approved for. Without it, the part is a liability.
Include the warranty terms. The warranty should state the coverage period, the failure modes covered, and the process for claiming a replacement. A warranty without clear terms is a marketing tool, not a protection.
How to integrate new electrical components into existing systems
Integration is where many procurement projects fail. A component that works in isolation may not work in the vehicle. The wiring harness, the power supply, and the control logic must all align.
Before full-scale installation, run a pilot test on a small batch. Connect the new component to the existing system. Check for ground loops, signal noise, and voltage drops. Monitor the system for a defined period to catch intermittent faults.
Use a diagnostic tool to read the fault codes. A new component may trigger a code that masks a deeper issue. The diagnostic log is part of the acceptance test. If the code persists after the new part is installed, the component is not the solution.
Train the service team on the new component. They need to know how to diagnose it, how to replace it, and how to interpret the fault codes. If the service team cannot support the part, the part is a future cost, not a solution.
How to measure supplier performance over time
Performance measurement is ongoing. It is not a one-time event. Track the supplier’s on-time delivery rate, the defect rate, and the response time to quality issues.
Set a target for each metric. A supplier with a 95 percent on-time delivery rate is not the same as one with a 90 percent rate. A supplier with a 0.5 percent defect rate is not the same as one with a 1 percent rate.
Review performance quarterly. Discuss trends, not just numbers. If the defect rate is rising, ask why. If the on-time delivery is slipping, ask what is causing it. The goal is to improve the relationship, not to punish the supplier.
Use the review to adjust the allocation. Increase orders from a reliable supplier. Reduce orders from a struggling one. This is not a punishment. It is a rational allocation of risk.
| Criterion | What to look for | Why it matters |
|---|---|---|
| Electrical Performance | Measured current, voltage tolerance, and signal integrity | Ensures the component works within the system limits |
| Environmental Resistance | Ingress protection, thermal cycle, and vibration data | Predicts field failure under real operating conditions |
| Traceability | Serial number, lot code, and raw material origin | Enables recall and root-cause analysis |
| Regulatory Compliance | Regional certification and labeling | Prevents import rejection and legal liability |
| Supplier Financial Health | Audited financials and production capacity | Reduces the risk of sudden supply interruption |
| After-Sales Support | Warranty terms and technical service response | Protects the vehicle when the part fails in the field |
Frequently asked questions
How do I know if a supplier is qualified for critical electrical systems?
Request their quality management certificate, test reports, and compliance statements. Verify that they can trace a serial number to the raw material lot. If they cannot, they are not qualified.
What is the difference between a sample test and a lot test?
A sample test checks a few units from a batch. A lot test checks the actual units you are receiving. For critical systems, you need the lot test.
How much inventory buffer should I keep for electrical parts?
It depends on the lead time and the risk. For high-velocity parts, a two-week buffer may be enough. For specialized modules, a six-week buffer is safer.
What should I do if a new component triggers a fault code?
Check the diagnostic log. If the code persists after installation, the component is not the solution. Investigate the wiring, the power supply, and the control logic.
How often should I review supplier performance?
Quarterly is the standard. Track on-time delivery, defect rate, and response time. Use the data to adjust your allocation.