Checklist: Pre-Shipment Inspection for Brake Assembly Parts
Perform pre-shipment inspection of brake assembly parts by checking hardware, friction material, and fluid compatibility. This audit checklist helps prevent field failures and returns by verifying torque, surface finish, and packaging standards before dispatch.
- Verify all torque-critical fasteners and caliper hardware against manufacturer specifications before sealing the package.
- Inspect friction material for contamination, delamination, or foreign debris that can cause uneven wear or noise.
- Check fluid compatibility and seal integrity to prevent leaks and corrosion during transit.
- Document serial numbers and batch codes to ensure full traceability from the production line to the customer.
Shipping brake components requires strict quality control. A defect in a single bolt or a contaminated pad can lead to field failures. This guide provides a structured audit checklist for pre-shipment inspection of brake assembly parts. It covers mechanical, material, and packaging checks. Use this list to standardize your final quality assurance steps before dispatch.
Mechanical Hardware and Fastener Verification
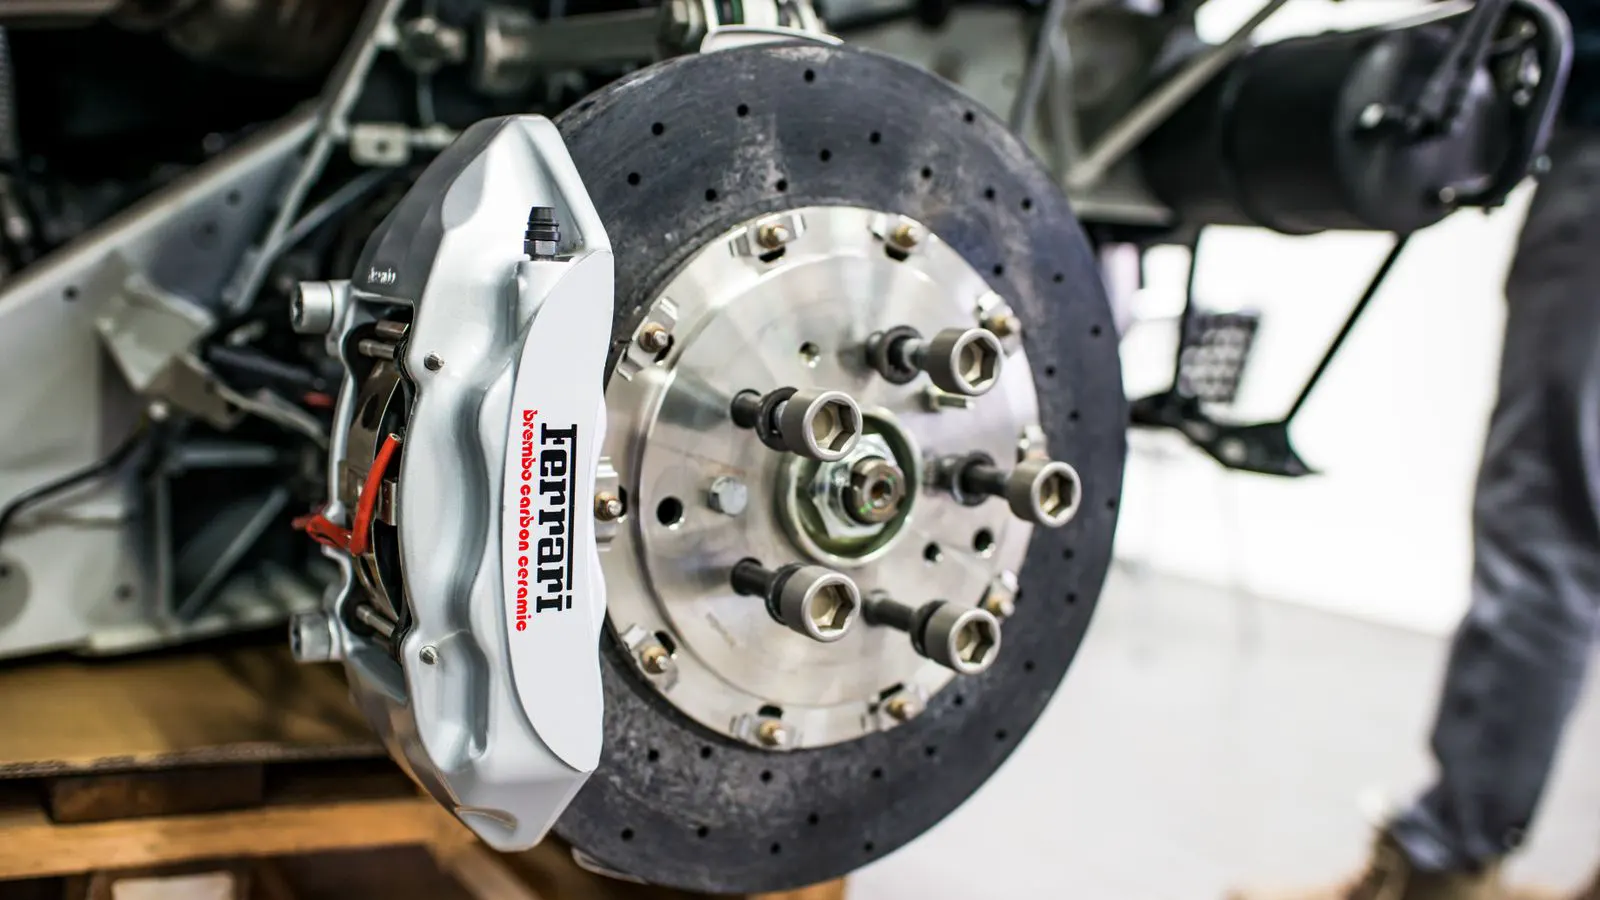
The first area to inspect is the structural integrity of the assembly. Brake assembly parts rely on precise hardware to maintain alignment and clamping force. If the caliper bracket is loose or the piston slide pins are damaged, the system will fail under load.
- Verify fastener torque. Check that all bolts, pins, and clips are torqued to the specific value printed on the packing slip. Use a calibrated torque wrench. A loose caliper bracket causes uneven pad wear and can strip threads in the knuckle.
- Inspect hardware condition. Examine all pins, springs, and clips for wear. Replace any hardware that shows rounding, stretching, or corrosion. New hardware should be oiled and free of burrs.
- Check piston alignment. Ensure the brake pistons sit flush and move freely within the caliper bore. A stuck piston prevents the caliper from releasing the rotor, causing drag and heat.
- Examine caliper mounting surfaces. Look for scoring or pitting on the mounting ears. A rough surface prevents proper seating and can lead to noise and vibration.
- Verify rotor mounting hardware. Check the hub bolts or studs. Ensure they are the correct diameter and thread pitch. A mismatch here is a critical failure point.
| Component | Check Item | Red Flag |
|---|---|---|
| Caliper Bracket | Bolt torque | Visible thread stripping or missing washer |
| Piston Slides | Free movement | Grease dryness or corrosion on pins |
| Rotor Hub | Stud alignment | Bending or wear on hub threads |
| Hardware | Surface finish | Rust or pitting on pins and clips |
Friction Material and Surface Quality
Friction material quality defines the performance and noise characteristics of the brake assembly. Contamination is a common issue in import channels and domestic sourcing. You must verify that the pad and shoe material is clean and consistent.
- Check for foreign debris. Inspect the friction surface for metal shavings, dust, or oil. Any foreign material should be removed before shipping. Debris causes squeal and uneven wear.
- Inspect for delamination. Look for layers separating from the backing plate or the friction block. Delamination reduces braking power and can shed material into the rotor.
- Verify edge condition. Check the edges of the pad. They should be straight and clean. Chipped edges can cause noise and affect the even contact area.
- Examine the backing plate. Ensure the backing plate is flat. A warped plate causes uneven pressure distribution and premature wear.
- Check anti-squeal shims. Verify that shims are present and correctly positioned. They should be clean and not crushed. Shims are critical for noise reduction.
Fluid Compatibility and Seal Integrity
Brake assembly parts often include hydraulic seals and fluid reservoirs. The wrong fluid or a compromised seal can cause immediate failure.
- Verify fluid type. Confirm the brake fluid is the correct specification for the system. DOT 3 and DOT 4 are not always interchangeable in all applications. Check the label or the datasheet.
- Inspect seal integrity. Examine the caliper seals, master cylinder seals, and any hose fittings. Look for cracks, bulges, or dry spots. A small leak can lead to a total failure.
- Check for corrosion. Inspect the fluid reservoir and any metal parts exposed to the fluid. Corrosion weakens the structure and can contaminate the fluid.
- Verify bleed screw condition. Ensure the bleed screw threads are clean and not stripped. A stripped screw makes bleeding the system difficult and risky.
- Inspect the reservoir cap. Check that the cap seals properly. A loose cap allows moisture into the fluid, which lowers the boiling point and causes corrosion.
Traceability and Documentation
Traceability is the backbone of quality control. If a failure occurs in the field, you need to know exactly which batch was shipped. Without documentation, you cannot isolate the problem or recall the affected units.
- Record serial numbers. Write the serial number of each assembly on the packing slip. This links the physical part to the production record.
- Verify batch codes. Check the batch code on the friction material and the hydraulic seals. These codes identify the raw material source and the production date.
- Include test reports. Attach the torque test results and the friction material test reports to the shipment. These documents prove the parts met the required standards.
- Check the packing list. Ensure every item listed is present in the box. A missing clip or a missing washer is a common cause of field failures.
- Verify the shipping label. Confirm the destination, part number, and quantity are correct. A labeling error can lead to a return and a delay in the customer’s project.
Packaging and Transit Protection
Brake assembly parts are sensitive to impact and moisture. Packaging must protect the components during transit. A poorly packaged part can arrive damaged, even if it passed the final inspection.
- Use protective packaging. Wrap each assembly in bubble wrap or foam. This protects the caliper and rotor from impact.
- Check for moisture protection. Place desiccant packets in the box. Moisture causes rust on the rotors and hardware. A dry environment is critical for long-term storage.
- Secure the contents. Use dunnage or foam blocks to keep the parts from moving during transit. Movement causes scratches and damage to the friction surfaces.
- Inspect the outer box. Check for dents, tears, or water damage. A damaged box can compromise the internal packaging.
- Label for handling. Apply “Fragile” and “This Side Up” labels. These instructions help the carrier handle the package with care.
Final Pre-Shipment Audit
The final step is a comprehensive audit of the shipment. This is the last chance to catch any errors before the parts leave the facility.
- Review the checklist. Go through each item in the audit checklist. Mark it complete.
- Check the torque records. Verify that the torque wrench was calibrated and that the values were recorded.
- Inspect the friction material one last time. Look for any new contamination or damage that may have occurred during handling.
- Confirm the documentation. Ensure all test reports, packing lists, and shipping labels are present and accurate.
- Seal the package. Tape the box securely. A loose box can open in transit and spill the contents.
Pre-shipment inspection is a critical part of the quality control process. By following this checklist, you reduce the risk of field failures and returns. It also helps you meet customer requirements and maintain a good reputation. Use this guide as a baseline for your own procedures. Adjust the checks to match your specific product and customer needs.
Frequently asked questions
What is the most common defect found during pre-shipment inspection of brake assembly parts?
Contamination of the friction material is the most common defect. Foreign debris, oil, or dust can cause noise and uneven wear.
How often should you calibrate your torque wrench?
Calibrate your torque wrench at least once a year or after any drop or impact. Regular calibration ensures accurate torque values.
Can you use DOT 4 fluid in a system designed for DOT 3?
Yes, DOT 4 is generally compatible with DOT 3 systems. However, always check the manufacturer's specification for your specific application.
What is the purpose of anti-squeal shims?
Anti-squeal shims are used to reduce brake noise. They are positioned between the pad and the backing plate to prevent vibration.
How should you package brake assembly parts for shipping?
Use protective packaging such as bubble wrap or foam. Place desiccant packets in the box to prevent rust. Secure the contents to prevent movement.